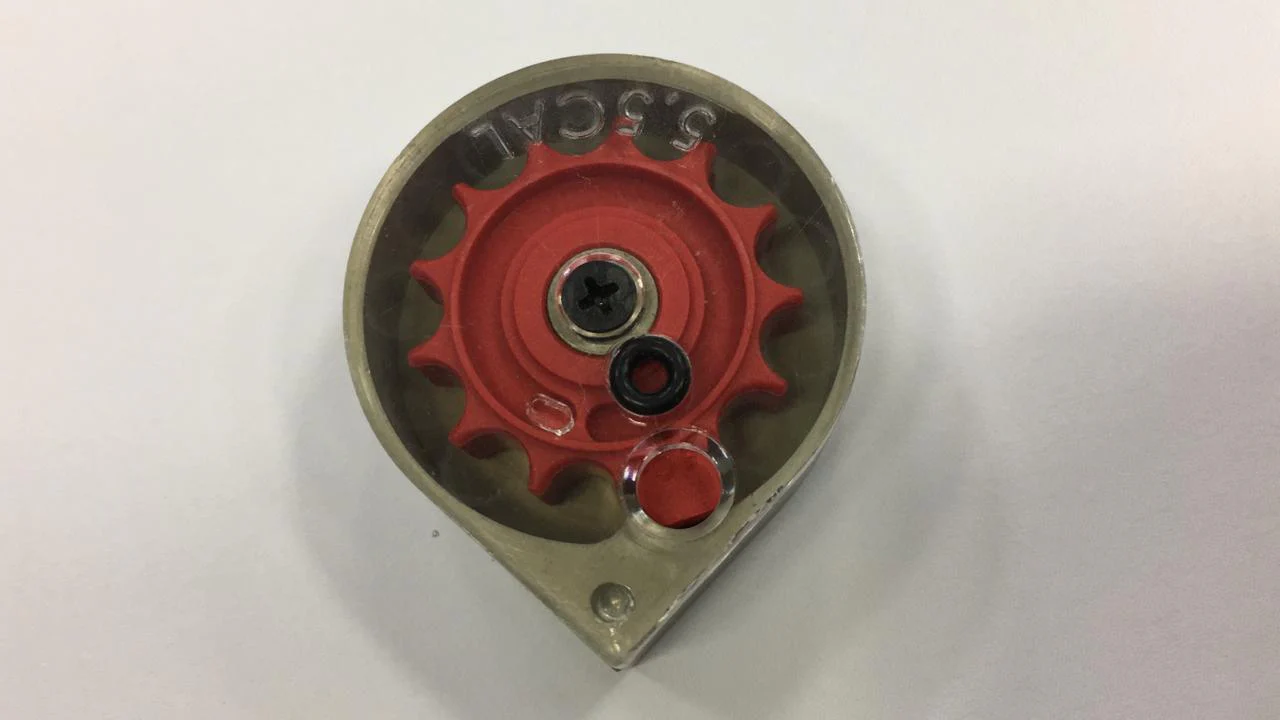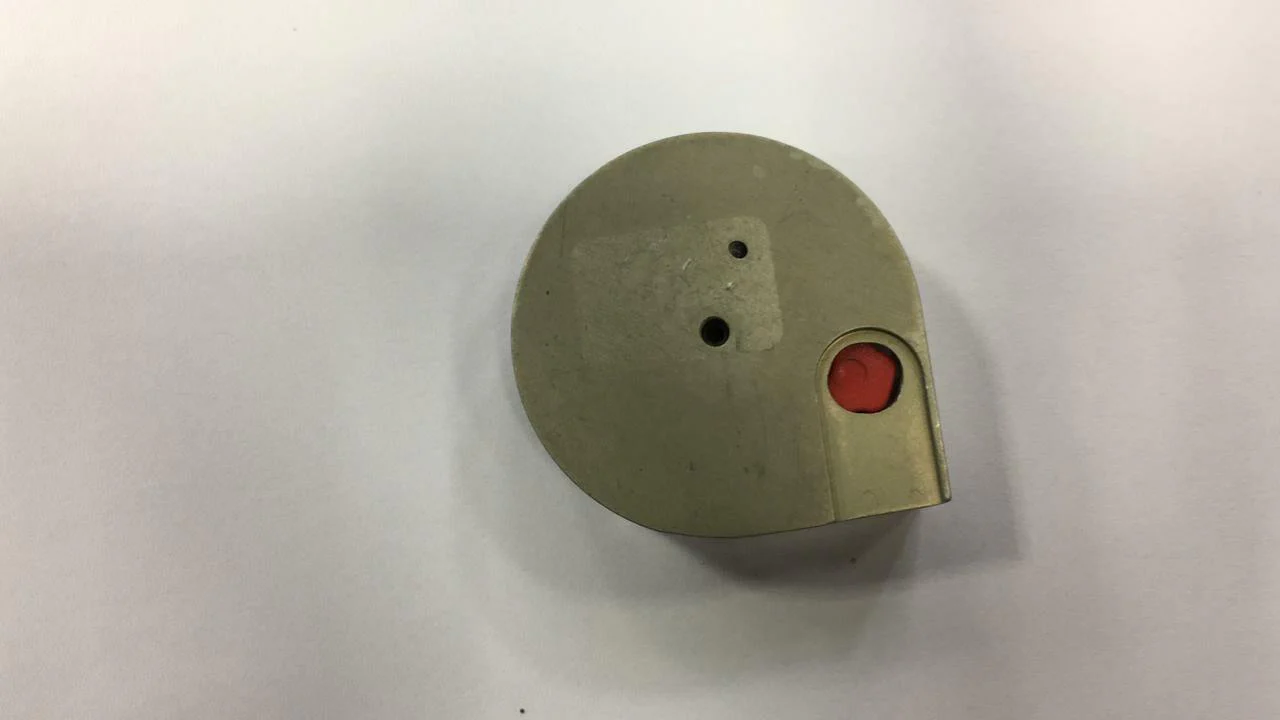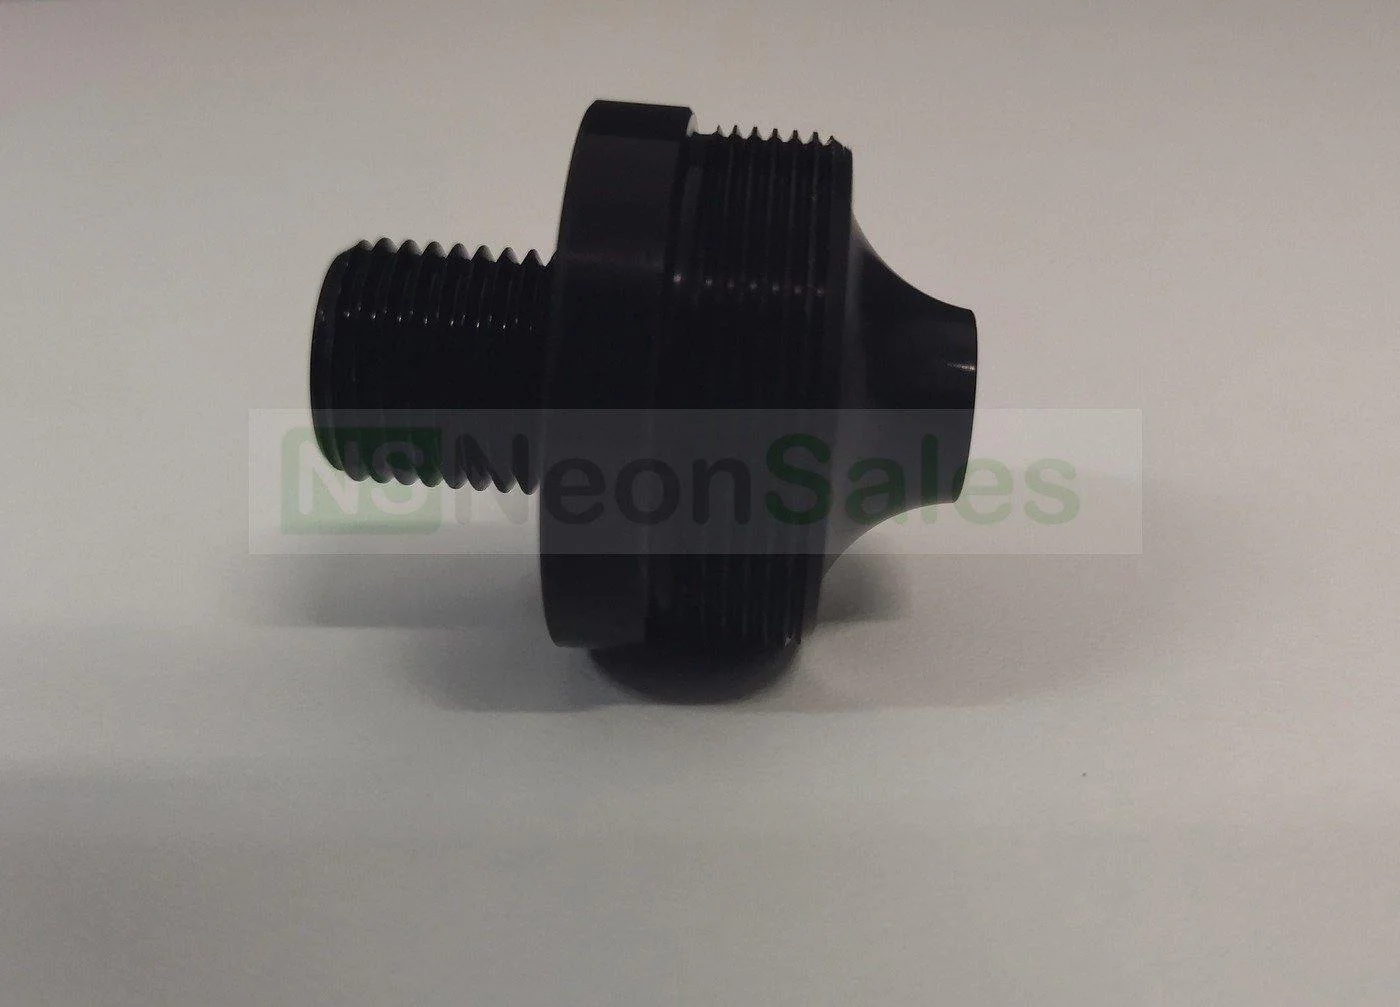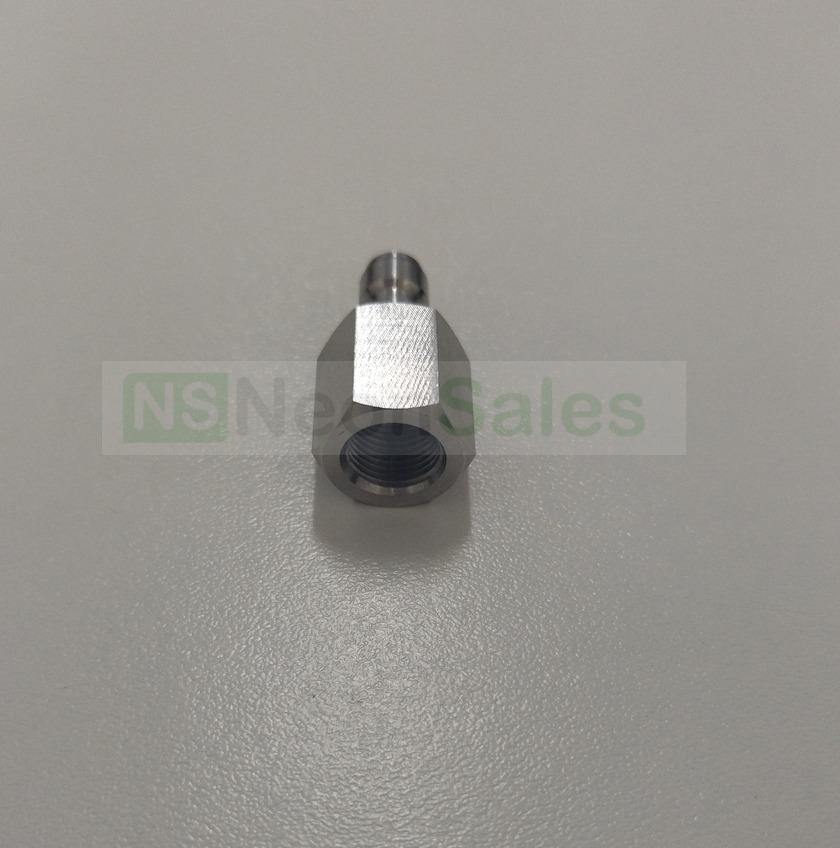
HATSAN QUATRO TRIGGER SET
Hatsan Quattro Trigger: Complete Adjustment Guide
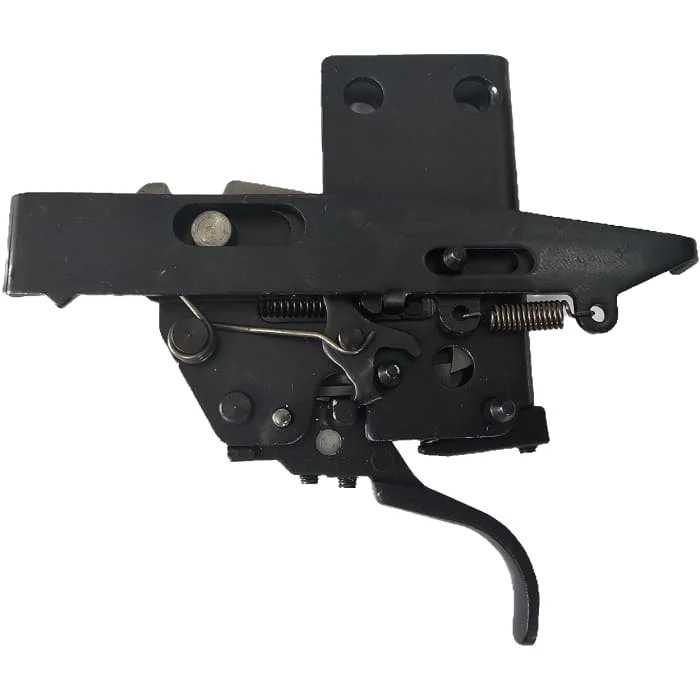
The Hatsan Quattro trigger system ranks among the most advanced airgun triggers available. It offers three user-adjustable settings controlled by three separate adjustment screws positioned from front to rear.
Adjustment Screw Functions
- Adjuster #1 (Front Screw): Located closest to the muzzle, this screw controls initial sear engagement depth and overall trigger travel.
- Adjuster #2 (Middle Screw): Sets the engagement point where your second stage begins.
- Adjuster #3 (Rear Screw): Adjusts final trigger pull weight. Caution: Do not over-adjust—sufficient spring pressure must remain to set the sear during cocking.
Fine-Tuning Tips
Important: Make only small, incremental changes to one screw at a time. This approach allows easy reset if over-adjustment occurs. Document your original working settings with notes or photos before starting.
Break-Barrel and Under-Lever Airgun Settings
- Adjuster #1: Cap-head screw; keep fully turned in (clockwise) for optimal trigger feel.
- Adjuster #2: Cap-head screw; adjust to personal preference. Do not exceed 1.5 turns out, or misfires may occur. If the gun fails to fire, reset this screw fully clockwise and begin again.
- Adjuster #3: Set screw (grub screw) requiring a 1.5mm hex key. Lightest setting achieved with approximately 2 threads exposed. Further unscrewing provides no additional reduction and may cause trigger blade interference.
For assistance with trigger adjustments, please contact our Customer Service Department.
Hatsan Quattro Trigger: Complete Adjustment Guide
The Hatsan Quattro trigger system ranks among the most advanced airgun triggers available. It offers three user-adjustable settings controlled by three separate adjustment screws positioned from front to rear.
Adjustment Screw Functions
- Adjuster #1 (Front Screw): Located closest to the muzzle, this screw controls initial sear engagement depth and overall trigger travel.
- Adjuster #2 (Middle Screw): Sets the engagement point where your second stage begins.
- Adjuster #3 (Rear Screw): Adjusts final trigger pull weight. Caution: Do not over-adjust—sufficient spring pressure must remain to set the sear during cocking.
Fine-Tuning Tips
Important: Make only small, incremental changes to one screw at a time. This approach allows easy reset if over-adjustment occurs. Document your original working settings with notes or photos before starting.
Break-Barrel and Under-Lever Airgun Settings
- Adjuster #1: Cap-head screw; keep fully turned in (clockwise) for optimal trigger feel.
- Adjuster #2: Cap-head screw; adjust to personal preference. Do not exceed 1.5 turns out, or misfires may occur. If the gun fails to fire, reset this screw fully clockwise and begin again.
- Adjuster #3: Set screw (grub screw) requiring a 1.5mm hex key. Lightest setting achieved with approximately 2 threads exposed. Further unscrewing provides no additional reduction and may cause trigger blade interference.
For assistance with trigger adjustments, please contact our Customer Service Department.
Original: $61.48
-70%$61.48
$18.44Description
Hatsan Quattro Trigger: Complete Adjustment Guide
The Hatsan Quattro trigger system ranks among the most advanced airgun triggers available. It offers three user-adjustable settings controlled by three separate adjustment screws positioned from front to rear.
Adjustment Screw Functions
- Adjuster #1 (Front Screw): Located closest to the muzzle, this screw controls initial sear engagement depth and overall trigger travel.
- Adjuster #2 (Middle Screw): Sets the engagement point where your second stage begins.
- Adjuster #3 (Rear Screw): Adjusts final trigger pull weight. Caution: Do not over-adjust—sufficient spring pressure must remain to set the sear during cocking.
Fine-Tuning Tips
Important: Make only small, incremental changes to one screw at a time. This approach allows easy reset if over-adjustment occurs. Document your original working settings with notes or photos before starting.
Break-Barrel and Under-Lever Airgun Settings
- Adjuster #1: Cap-head screw; keep fully turned in (clockwise) for optimal trigger feel.
- Adjuster #2: Cap-head screw; adjust to personal preference. Do not exceed 1.5 turns out, or misfires may occur. If the gun fails to fire, reset this screw fully clockwise and begin again.
- Adjuster #3: Set screw (grub screw) requiring a 1.5mm hex key. Lightest setting achieved with approximately 2 threads exposed. Further unscrewing provides no additional reduction and may cause trigger blade interference.
For assistance with trigger adjustments, please contact our Customer Service Department.